How to Design Your Own Crochet Patterns

Source: StockSnap on Pixabay
So you’ve been crocheting for a while now, and you’re far from being a beginner anymore. You’ve mastered the art of reading patterns, and maybe you’ve even free-handed a few projects. Do you have some amazing crochet ideas that you’d like to share with the world? Then, the next step on your journey is to learn how to design your own crochet patterns.
Step 1: Find Inspiration
The first step to creating your first crochet pattern is figuring out just what the pattern should be. You can find inspiration all around you! Perhaps you saw a garment in a store that was just a tad bit over your spending limit and wanted to make it yourself instead. Or maybe you want to come up with a fun gift-friendly pattern just in time for the holidays. If you’re not sure where to start, you can always turn to social media or, even better, Pinterest, to find some crocheting inspiration. The only rule to follow is that you need to be able to crochet it yourself. If you’re not, you’ll likely have trouble writing down the pattern.
Step 2: Select a Simple Shape
If this is your first time designing a crocheting pattern (and if you’re reading this guide, we assume it is), it might be a good idea to start small and simple. You don’t have to jump straight to intricate dresses with colourful motifs. Why not start with a simple scarf instead? However, if you’re determined to design a pattern for something more complex than a scarf, do your best to break it down into simpler shapes. For instance, if you’re designing a tank top, you can break it down into two squares for the front and the back, two triangles for the decolletage, and two strings for the straps.
Step 3: Draw a Sketch

Source: Anete Lusina on Pexels
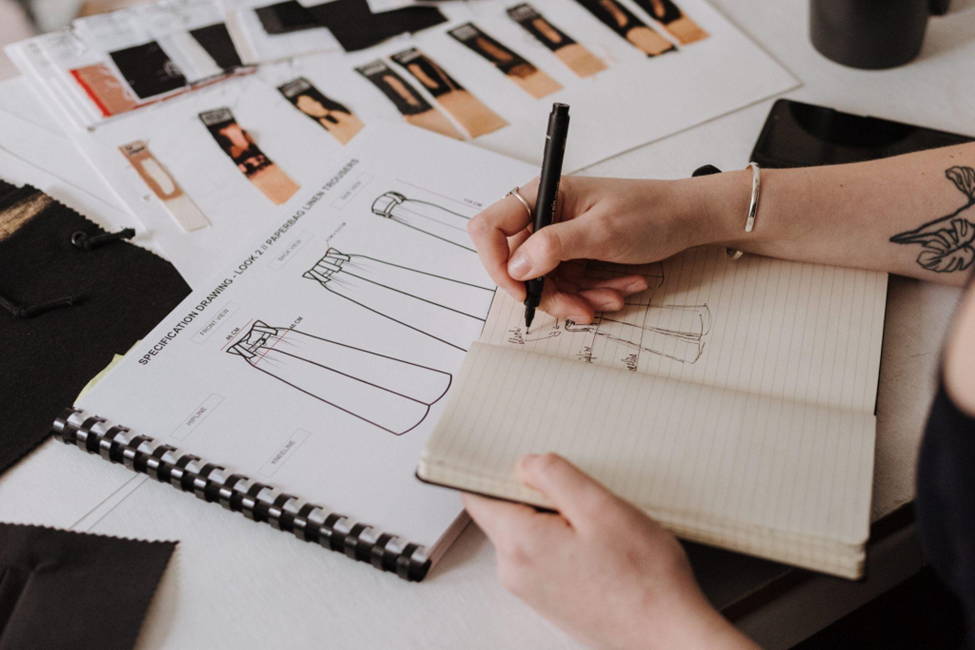
Putting your soon-to-be pattern on a piece of paper will help you visualize your project better. And don’t worry, you don’t need to be a great artist to draw a sketch of your crochet project. This drawing will be just for you – nobody else has to see it. If it makes things easier, you can always download and print out a couple of pictures of a mannequin (assuming you’re making a pattern for a piece of clothing) to make drawing easier. As a bonus, it will also help you picture better how the finalized project will actually look when worn.
Step 4: Choose Yarn and Hook
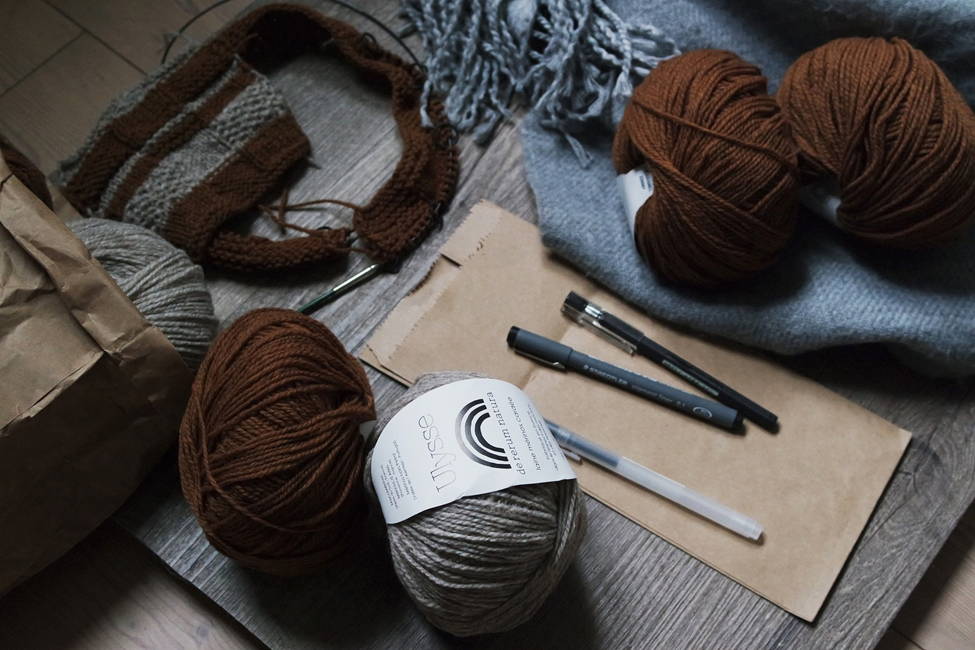
Choosing the right yarn and hook will be paramount for the final look of your project. However, there is no one-size-fits-all answer here – it really all depends on the type of crochet pattern you’re designing and your personal preference. As a rule of thumb, use lighter yarns for summertime garments, and thicker yarns for warm winter items. You should also pay attention to the fibre content of the yarn you’re choosing. For starters, pick the type of yarn that you’re already used to and comfortable working with. The size of the crochet hook you’re using will depend on the yarn you choose. The easiest way to go about this is to refer to the label of the yarn for the right hook size. If you figure out down the line that another hook size may work better, don’t hesitate to change it (although you may have to redo some steps then, such as gauge swatching). .
Step 5: Gauge Swatch
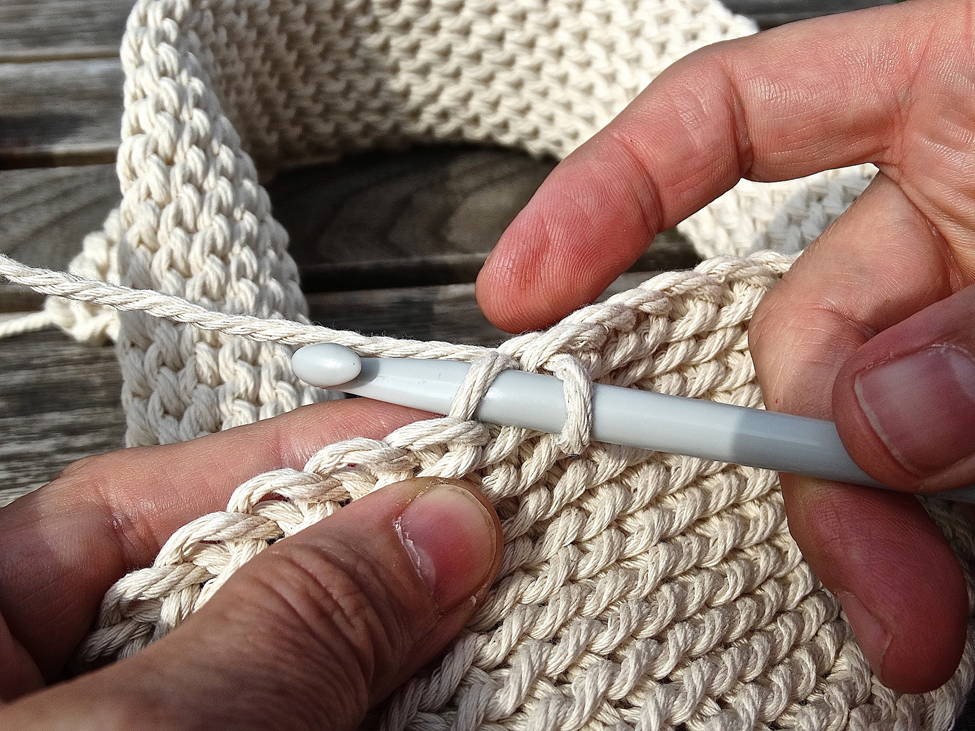
Speaking of gauge swatching… It’s time to do some crocheting. Finding the right gauge is crucial for converting measurements into stitches. So take your time to crochet as many swatches with different gauges as you need. Find the one that produces the right texture and thickness you pictured for your finalized project. Use this as an opportunity to also test various stitch combinations, yarns, and crochet hooks, until you come up with exactly the type of swatch you had in mind. We know this step may seem boring and like a waste of yarn, but we simply cannot overstate how important it is – so don’t skip it.
Step 6: Calculate Measurements
Knowing the exact measurements you’re going for before your project is even done might seem like an impossible task, but it is still very important (and not actually impossible at all!). The easiest thing to do is to refer to the Craft Yarn Council's standardized measurements for clothing garments. Keep in mind that you will have to pay attention to a lot of details. Beyond just the height and width of the garment, you should also think about things like armhole depth. It might seem like tedious work, but it is just as important as gauge swatching.
The main problem with standardized measurements, however, is that everyone’s body is different, and what fits one person may not fit the other, even if they generally wear the same size. You can get away with some size variation if you’re using a fairly stretchy yarn, but there’s pretty much no guarantee that the final project will fit right if you stick to standardized measures. Another thing you can do is find a piece of clothing that fits you just right and base your project’s measurements on it instead.

Source: 422737 on Pixabay

